.svg)
.svg)
.svg)




How to Fix Laptop Fan Not Working in 2026
A laptop fan that suddenly goes quiet usually shows up at the worst possible time. One minute you're answering a customer, finishing an invoice, or jumping into a video call, and the next minute the bottom of the machine feels hot enough to make you back off your hands. At that point, the mistake is treating every fan problem the same. A fan that never spins points to a different failure path than a fan that spins but can't keep the laptop cool.
That split matters because it tells you where to start. If the fan is electrically dead, you're looking at power, firmware, cable, connector, motor, or motherboard control. If the fan is spinning but the machine still overheats, the problem is usually airflow, dust, blocked vents, or heat transfer at the heatsink and thermal paste. That's the same basic logic major OEM troubleshooting guides use, and it saves a lot of blind parts swapping.
Table of Contents
- When the Fan Stops Doing Its Job
- Software and Firmware Checks Before You Open the Laptop
- Restoring Airflow and Clearing the Cooling Path
- Opening the Chassis and Diagnosing the Fan Itself
- Replacing the Fan the Right Way
- When to Stop and Call a Professional Depot
- Your Quick-Reference Fan Troubleshooting Checklist
When the Fan Stops Doing Its Job
A Houston customer once called while finishing a quote on a two-year-old laptop. The fan had gone silent, the case was hot under the palm rest, and the machine was still technically on. That's the kind of call where I ask one question first, because the answer changes everything, does the fan ever move at all, or is it moving but the laptop still runs hot?
Two symptoms, two different fixes
A fan that never spins is usually a control or hardware failure. The common suspects are firmware behavior, a loose fan connector, a damaged cable, a worn motor, or a motherboard header that isn't delivering power. A fan that spins but doesn't cool is usually an airflow problem, blocked vents, dust packed into the heatsink fins, or aging thermal paste that's no longer transferring heat well.
Practical rule: don't buy a replacement fan until you know which symptom you're dealing with. People waste money when they treat “hot laptop” and “dead fan” as the same problem.
That distinction also lines up with manufacturer guidance. Dell's troubleshooting flow starts with obstructions, dust, ventilation, damage, and BIOS or driver issues, while ASUS tells users to check BIOS, Windows packages, drivers, ventilation space, and hardware diagnostics before escalation. A newer machine is more likely to be saved by cleanup or firmware work, while a machine that's seen years of heavy runtime may be at the point where the fan has worn out. That older-unit threshold matters because fans are commonly designed for roughly 30,000 to 50,000 hours, or about 3 to 5 years of continuous use. laptop fan replacement guidance
If the machine is under that range, I'd start with the safe checks first. If it's older, noisy, and already been hot for a while, the odds shift toward mechanical wear. Either way, the goal is the same, figure out whether you're dealing with a fan you can wake up, a cooling path you can clear, or a component that's done its job and needs to be replaced.
For readers who also want to compare fan symptoms against overheating behavior, there's a useful companion guide on laptop overheating fixes.
Software and Firmware Checks Before You Open the Laptop
Start with the laptop powered on and listen closely at startup. Many systems spin the fan briefly during POST, then quiet down if the machine is cool. If you never hear that startup ramp, reboot into BIOS or UEFI and check whether the fan wakes up there. That tells you whether Windows is part of the problem or whether the issue sits below the operating system.
Check the control layer first
Windows power settings can suppress cooling behavior more than people realize. Set System cooling policy to Active and make sure the processor isn't capped too low in a way that keeps the laptop from generating enough heat to trigger the fan test. OEM utility software can also override what Windows is doing. Lenovo Vantage, HP thermal profiles, ASUS Armoury Crate, and similar tools can hold a machine in a quiet mode that looks broken if you're expecting the fan to roar constantly.
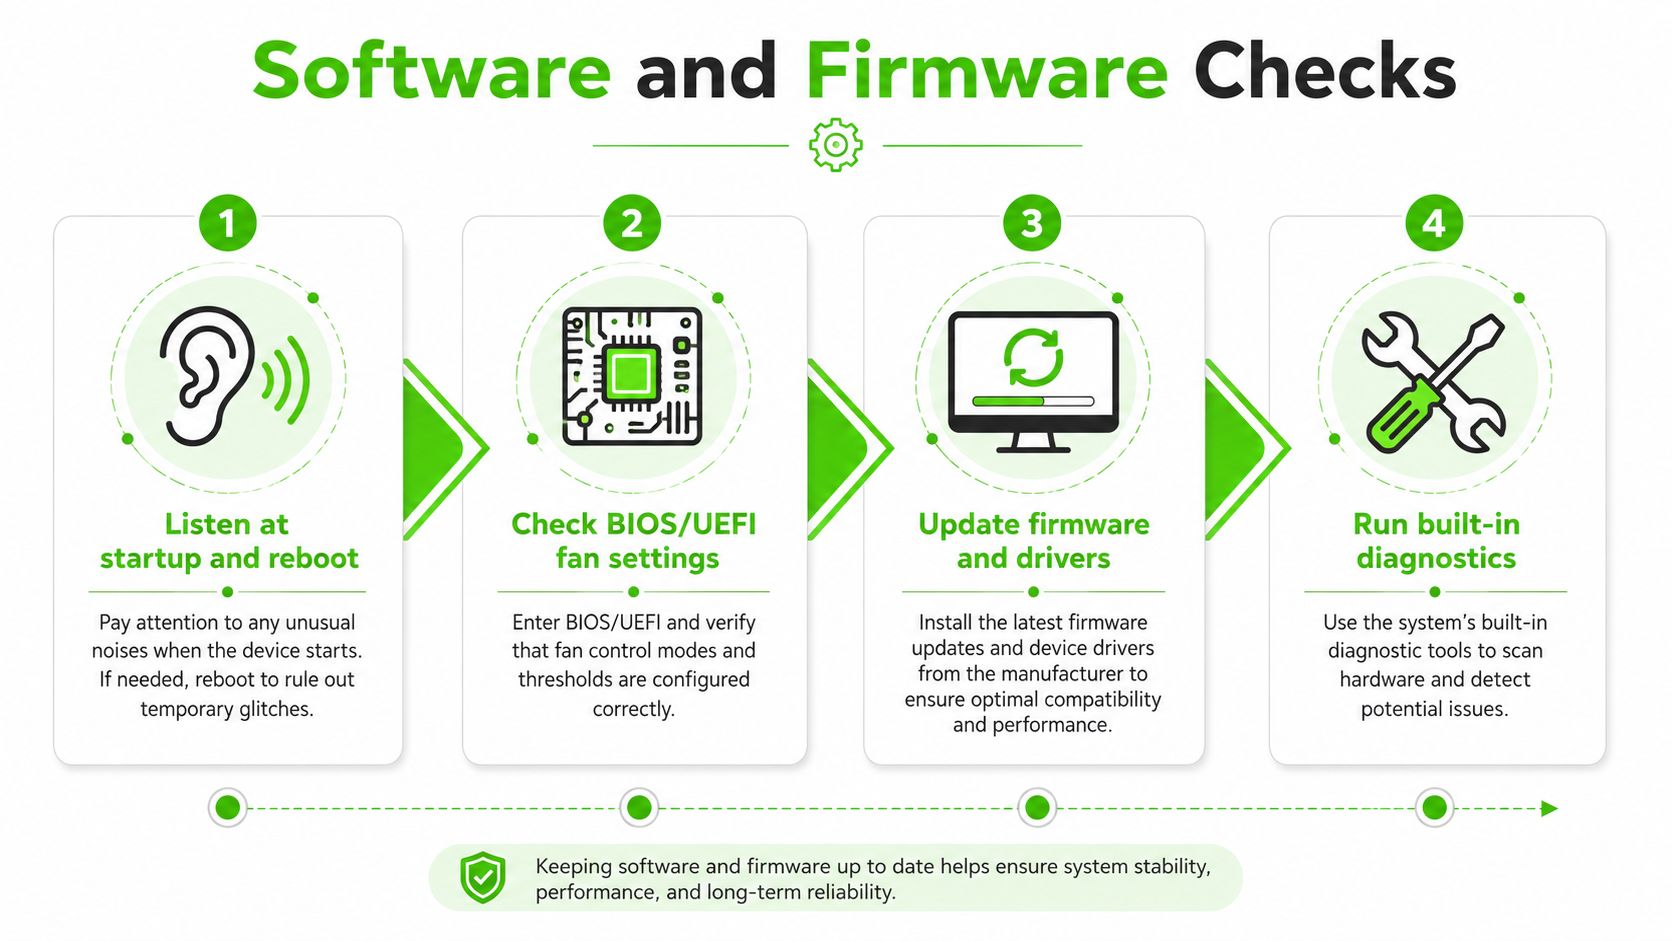
A useful test is a short load check. Run something demanding for about five minutes, then watch and listen for a fan ramp within about a minute. If the temperature rises and the fan never reacts, that points you away from normal thermal tuning and toward a hardware or firmware fault. If the fan ramps and the laptop stays stable, you've probably found a control or profile issue rather than a dead motor.
Dell's official fan troubleshooting also pushes BIOS and driver updates before hardware replacement, and that's the right order. A stale BIOS can misread thermal state, and a bad driver or power profile can make the fan seem lifeless when it isn't. On modern laptops, the fan curve may be shaped by OEM software rather than Windows alone, so a silent fan isn't automatically a broken fan.
If the laptop is cool and idle, silence is normal. The test is what happens when the machine actually needs cooling.
For a quick reference to fan cleaning and related upkeep, I keep the fan cleaning resource bookmarked for customers who want to check the airflow path before opening the chassis.
Restoring Airflow and Clearing the Cooling Path
When the fan spins but the laptop still gets hot, the fan usually isn't the villain. Air moves through a chain, intake vents, fan blades, heatsink fins, exhaust vents, and the thermal interface between the chip and the cooler. If any one of those is compromised, the whole system runs hot even though the fan itself is alive.
Treat the cooling path like one system
Dust is the first thing I look for because it's the easiest to underestimate. A light coat on the outside vents can hide a thicker mat inside the heatsink fins. That's why a quick blast at the grill often helps only a little, it clears the visible dust but leaves the packed buildup where the airflow gets restricted.
The safe home approach is simple. Shut the laptop down, disconnect power, and use short bursts of compressed air through the vents. Keep the fan blade from over-spinning if you can reach it, because forcing a worn bearing to freewheel can make it worse. A soft brush helps loosen debris around the intake and exhaust openings. I don't recommend liquids, and I don't recommend letting the can run continuously until the fan screams.
A fan can also look bad when the thermal paste has aged out. Old compound doesn't move heat from the CPU or GPU into the heatsink as well, so the fan may run normally but the temperatures still climb. Acer's support guidance, like other OEM troubleshooting flows, treats thermal paste and fan replacement as separate considerations. That's the right mindset. If cleaning helps but temperatures still spike under load, the issue may be transfer, not airflow.
Good repair judgment: if the fan spins and the vents are clean but the exhaust air still feels weak, the problem may be deeper in the cooler stack, not the fan motor.
A lot of DIY repairs stop after the outside vents look clean. That's usually not enough. The checkpoint is whether the exhaust path is open and whether the laptop sheds heat after cleaning. If it doesn't, you're past simple maintenance and into thermal service territory.
Opening the Chassis and Diagnosing the Fan Itself
Once firmware checks and vent cleaning haven't changed the behavior, it's time to inspect the fan as a physical part. That means opening the bottom panel carefully, not prying in a hurry and not guessing at screw placement. If the laptop has a removable battery, disconnect it before anything else. If it doesn't, you still want the machine fully powered down and unplugged before you touch the board.
Look at the connector before you blame the motor
The first thing I inspect is the fan connector on the motherboard. A loose plug, bent pin, or heat-discolored socket can stop the fan cold even when the motor is fine. Dell's own troubleshooting material leans heavily on hardware diagnostics, BIOS checks, and the basics of connector-level inspection for a reason, because a fan that never gets the signal or power will never spin no matter how clean it is.
If you briefly power the laptop with the chassis open, watch the fan behavior closely. A fan that twitches and stops often points to a failing bearing, bad cable, or partial electrical connection. A fan that does nothing at all points more strongly toward the motherboard header, embedded controller, or a control signal problem. That's where a lot of people make a bad call and swap the fan when the board is the fault.
The opposite mistake happens too. Some users assume any dead fan means a motherboard failure, then skip the obvious cable check. Don't do that. A reseated connector takes minutes. A board-level diagnosis doesn't.
The most honest sign is what the fan does under load after reassembly. If it stays dead while the machine heats up and BIOS diagnostics can't see it, the motor or board path is likely gone. If it spins but sounds rough or intermittently stops, the bearing or cable is more suspect. That difference matters because it decides whether you need a connector reseat, a fan swap, or a repair that belongs on a bench with the right tools.
For a visual walkthrough of internal cooling service, this short video is useful.
Replacing the Fan the Right Way
A correct fan replacement starts with the exact laptop model number, not just the brand name. Two machines that look identical can use different connector pinouts, mounting points, or speed curves, and a fan that physically fits can still behave wrong electrically. If you're shopping parts, compare the full model designation, the plug style, and the mounting pattern before you spend a dollar.
Swap the part, not the problem
Remove the old fan without forcing the heatsink or tearing the cable. If the cooler assembly came off with it, clean the contact surface and apply fresh thermal paste before reassembly. If the heatsink stayed in place, don't smear paste around unnecessarily. The point is to restore proper contact, not create a mess that makes troubleshooting harder later.
A firm connector seat matters just as much as the part itself. I've seen brand-new fans look dead on day one because the cable wasn't fully clicked into the board. After the swap, clear BIOS settings or reset to defaults if the system offers that option. Some machines keep stale thermal behavior around after hardware changes, and that can suppress a new fan enough to make it look faulty when it isn't.
If you want a sense of how different fan assemblies and cooling accessories are grouped, the layout on cooling fans for home shows why fit and connector style matter more than generic size labels. Laptop cooling parts are even less forgiving than household gear because the margins are tighter and the controller logic is specific to the model.
For related service notes on heat transfer and compound work, I also keep the thermal paste resource handy when the cooler has to come off during the repair.
A clean fan swap is straightforward when the diagnosis is right. It stops being straightforward when the issue is a cable, a motherboard header, or stale firmware. That's why I'd rather see a careful replacement than a rushed one. Rushing the final connector seat is one of the fastest ways to turn a good part into a fake failure.
When to Stop and Call a Professional Depot
A DIY fan swap sounds cheap until a screw strips, a heatsink cracks, or the connector tears off the board. The parts bill may be modest, but the risk isn't. If you're looking at a machine with liquid damage history, a MacBook with stubborn thermal faults, or a business laptop that has to be back in service quickly, a depot bench is the smarter move.
Compare the risk, not just the part price
Home repair makes sense when the fan is easy to reach, the model is common, and the failure is obvious. It gets risky when the connector is buried, the heatsink assembly is awkward, or the machine may need board-level work instead of a simple swap. Professional depot service matters because it can move from diagnostics to component repair, thermal refresh, and testing without guessing at the fault path.
Stop and call when the board may be involved. A dead header, cracked solder joint, or sensor problem won't be fixed by a new fan.
For Houston users, the practical option is an in-house depot that can diagnose the machine on the bench, check the cooling stack, and handle same-day turnaround when parts are available. That matters more than is often admitted, especially when the laptop is tied to work, billing, or client communications. A worn or misdiagnosed fan is annoying. A laptop out of service for days can be a real problem.
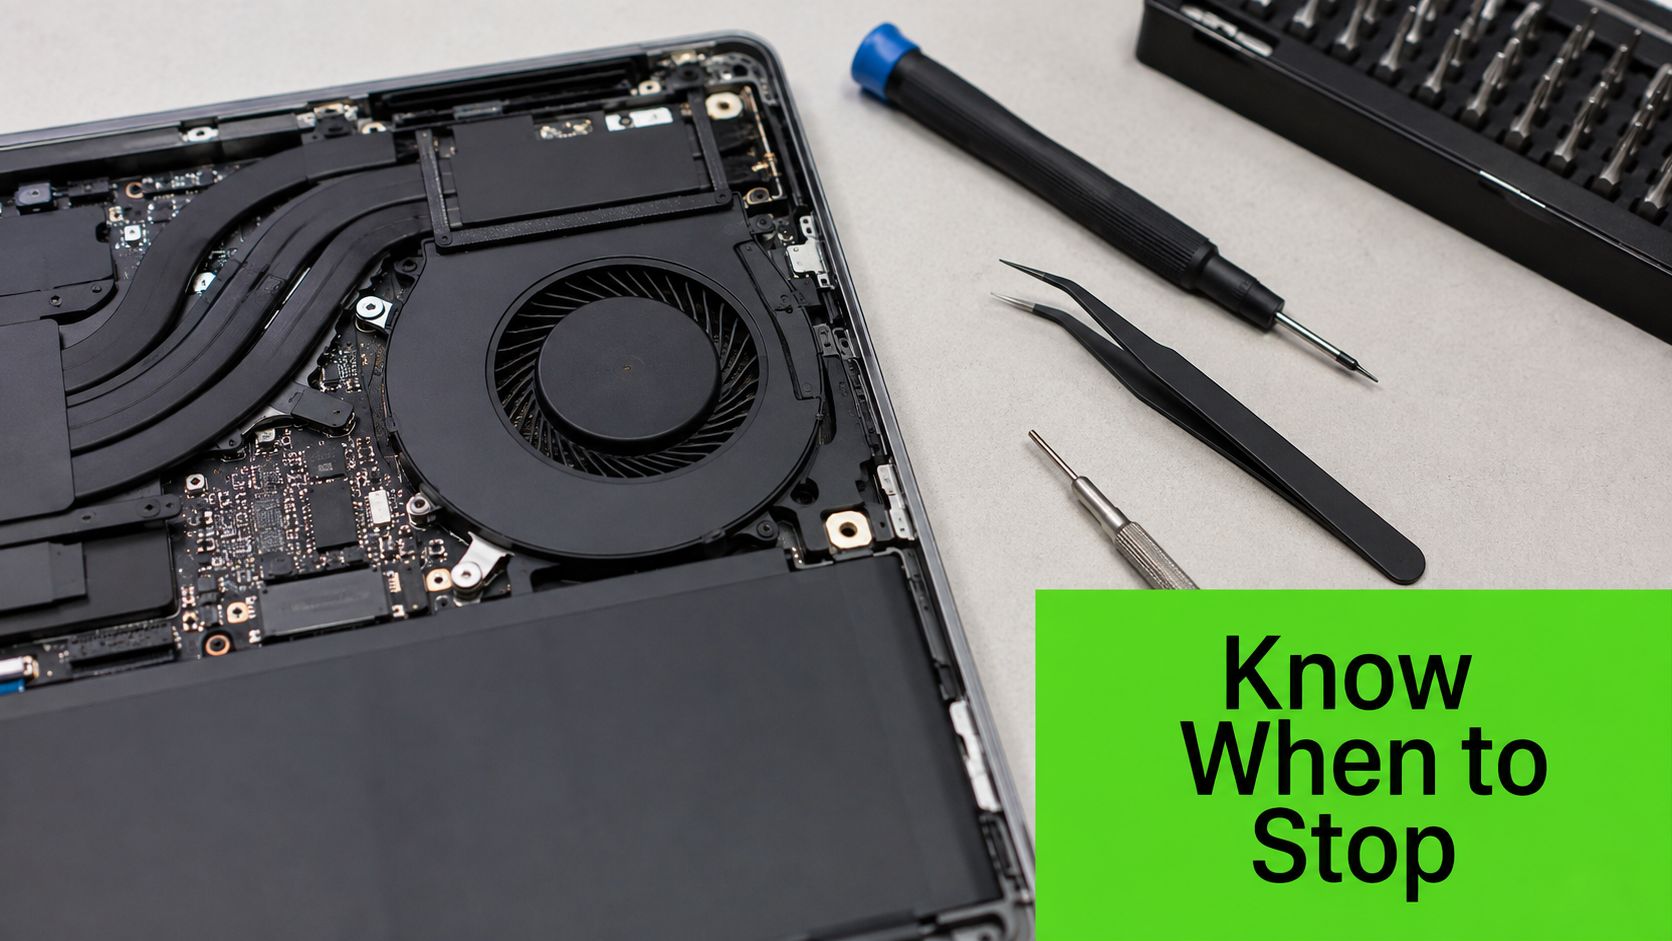
I'd also stop before opening the machine if the laptop has already shown board instability, random shutdowns, or symptoms that suggest a broader thermal failure. That's when a technician should check the sensor data, fan control path, and cooler stack in one pass instead of letting the problem sprawl across guesswork.
Your Quick-Reference Fan Troubleshooting Checklist
If the fan is silent at startup, check BIOS or UEFI first, then look at Windows cooling policy and OEM thermal profiles. If the fan spins but the laptop still overheats, clean the vents, inspect the heatsink path, and think about thermal paste before buying parts. If the fan only ramps under heavy load, that may be normal quiet-profile behavior, not a fault.
| Symptom | First Home Check | When to Stop and Call a Depot |
|---|---|---|
| Fan silent at startup | BIOS or UEFI check, then power settings and OEM fan profile | No spin in diagnostics, loose connector, or suspected motherboard header fault |
| Fan runs but laptop overheats | Clean vents, exhaust path, and heatsink area | Temperatures stay high after cleaning, paste may need service |
| Fan ramps only under load | Run a five-minute load test and watch for normal speed changes | Fan never responds to load or BIOS test |
| Grinding, clicking, or rough noise | Inspect for dust, cable rub, or obvious blade damage | Noise persists, bearing likely failing, replacement is the safer call |
Keep the vents clear, use the laptop on a hard surface, and don't let fabric smother the intake. If you've already tried the software checks, the airflow cleanup, and the fan still won't behave, it's time to let a technician take the next step.
If your laptop fan is still not working after the basic checks, bring it to We Fix PC Laptop for in-house diagnostics and practical repair advice. We handle fan problems, thermal issues, and component-level faults in the same depot workflow, so you don't have to guess at the cause twice.