.svg)
.svg)
.svg)




Sticky Laptop Keys: How to Clean and Fix Them Safely
You press the Space bar and it stays down for a beat too long. Enter feels gummy. A letter repeats even though your finger has already left the key. The natural reaction is to blame crumbs or a spilled drink, grab compressed air, and start lifting keycaps. That can work, but it can also turn a minor cleanup into broken scissor clips, trapped moisture, or a complete keyboard repair.
The safer approach starts with a diagnosis. Sticky laptop keys can reflect genuine mechanical resistance, or they can produce “sticking” behavior because of an operating-system setting or driver problem. Separate those possibilities before opening the laptop, then clean the hardware in an order that keeps liquid and force away from delicate electronics.
Table of Contents
- Is It Really a Hardware Problem
- The Safe Cleaning Sequence for Sticky Keys
- Removing Keycaps Without Breaking the Mechanism
- Understanding Delayed Failure Risks After Spills
- When to Seek Professional Keyboard Replacement
- Prevention Habits That Keep Keys Responsive
Is It Really a Hardware Problem
A key that feels physically slow, gummy, or difficult to depress is probably a mechanical problem. A key that moves normally but repeats characters, acts held down, or behaves differently between applications may be a software symptom instead. Windows accessibility settings can mimic stuck keys, and resetting keyboard drivers can resolve some repeating or “sticking” input problems, as documented in this step-by-step guide to fixing sticky keys.
Start with a simple comparison rather than disassembly.
- Check the physical feel. With the laptop powered off, press the affected key several times. Compare its travel and return with nearby keys. Mechanical drag, a delayed return, or a gritty feel points toward contamination, residue, or a misaligned mechanism.
- Test outside the normal operating system. Enter the BIOS or UEFI menu if your laptop supports it, or test from another operating system or a bootable environment. If the key behaves normally there but sticks inside Windows or macOS, software deserves attention first.
- Try another keyboard. An external USB or Bluetooth keyboard can help separate a laptop keyboard fault from an operating-system input problem. It won't repair the built-in keyboard, but it can show whether the issue affects the system broadly.
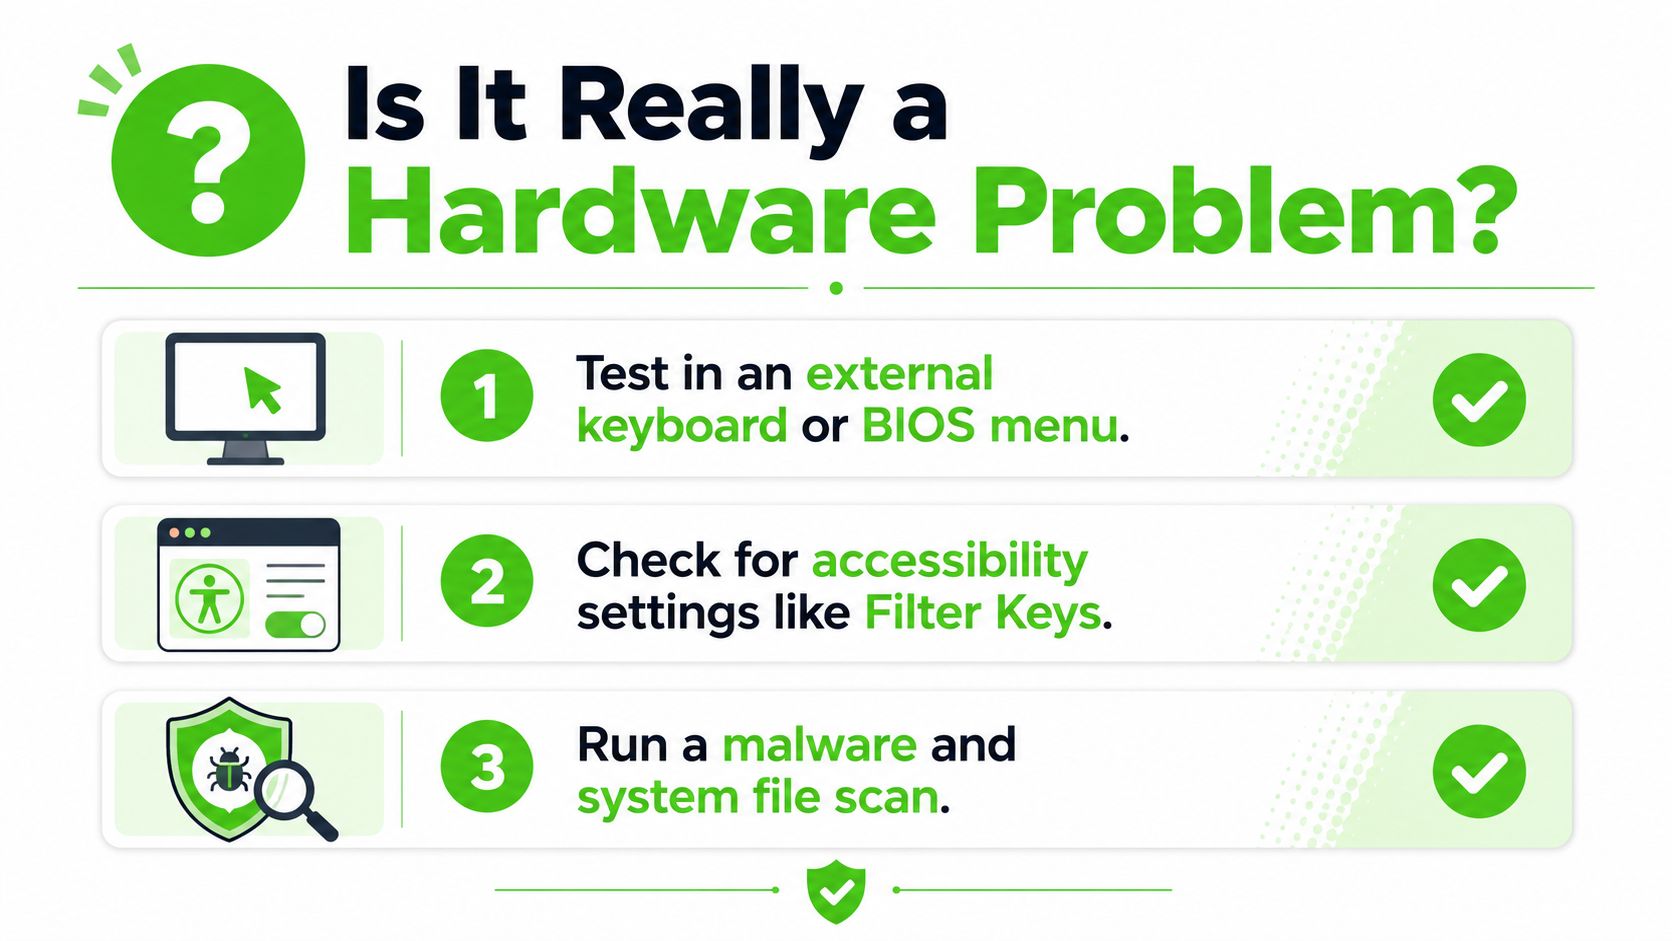
Check the operating system before using tools
In Windows, open Accessibility settings and review Sticky Keys and Filter Keys. Turn them off temporarily, then test the affected input. Also check for keyboard-driver problems in Device Manager, restart the computer, and install pending system updates only from the normal Windows Update process.
On macOS, review keyboard accessibility options under System Settings, especially settings that alter key response or ignore repeated input. Restart the Mac, test in another account if available, and compare behavior in a login screen or recovery environment. The exact menu names can vary by macOS release, so use the system search field if a setting isn't easy to locate.
Practical rule: If the key feels normal but the computer receives repeated input, don't pry off the keycap yet.
If the issue remains confined to one or two keys and the physical movement is abnormal, hardware is the stronger suspect. Before attempting removal, review whether replacing keyboards on laptops is appropriate for your model, particularly if the keyboard is integrated into a difficult-to-service top case. For users unsure whether DIY work is safe for their files and hardware, this guide to computer repair near me versus DIY repairs offers useful decision context.
The Safe Cleaning Sequence for Sticky Keys
Once the key has a genuine mechanical problem, the order of operations matters. Loose particles should come out before liquid touches the area, and liquid should be applied to a swab, not poured onto the keyboard. The practical workflow recommended in independent repair guidance is to power down, remove loose debris with compressed air, and clean the switch area with a lightly dampened cotton swab and isopropyl alcohol, removing the keycap only when the design supports it. See the laptop keyboard cleaning guide from iFixit for a compatible repair reference.
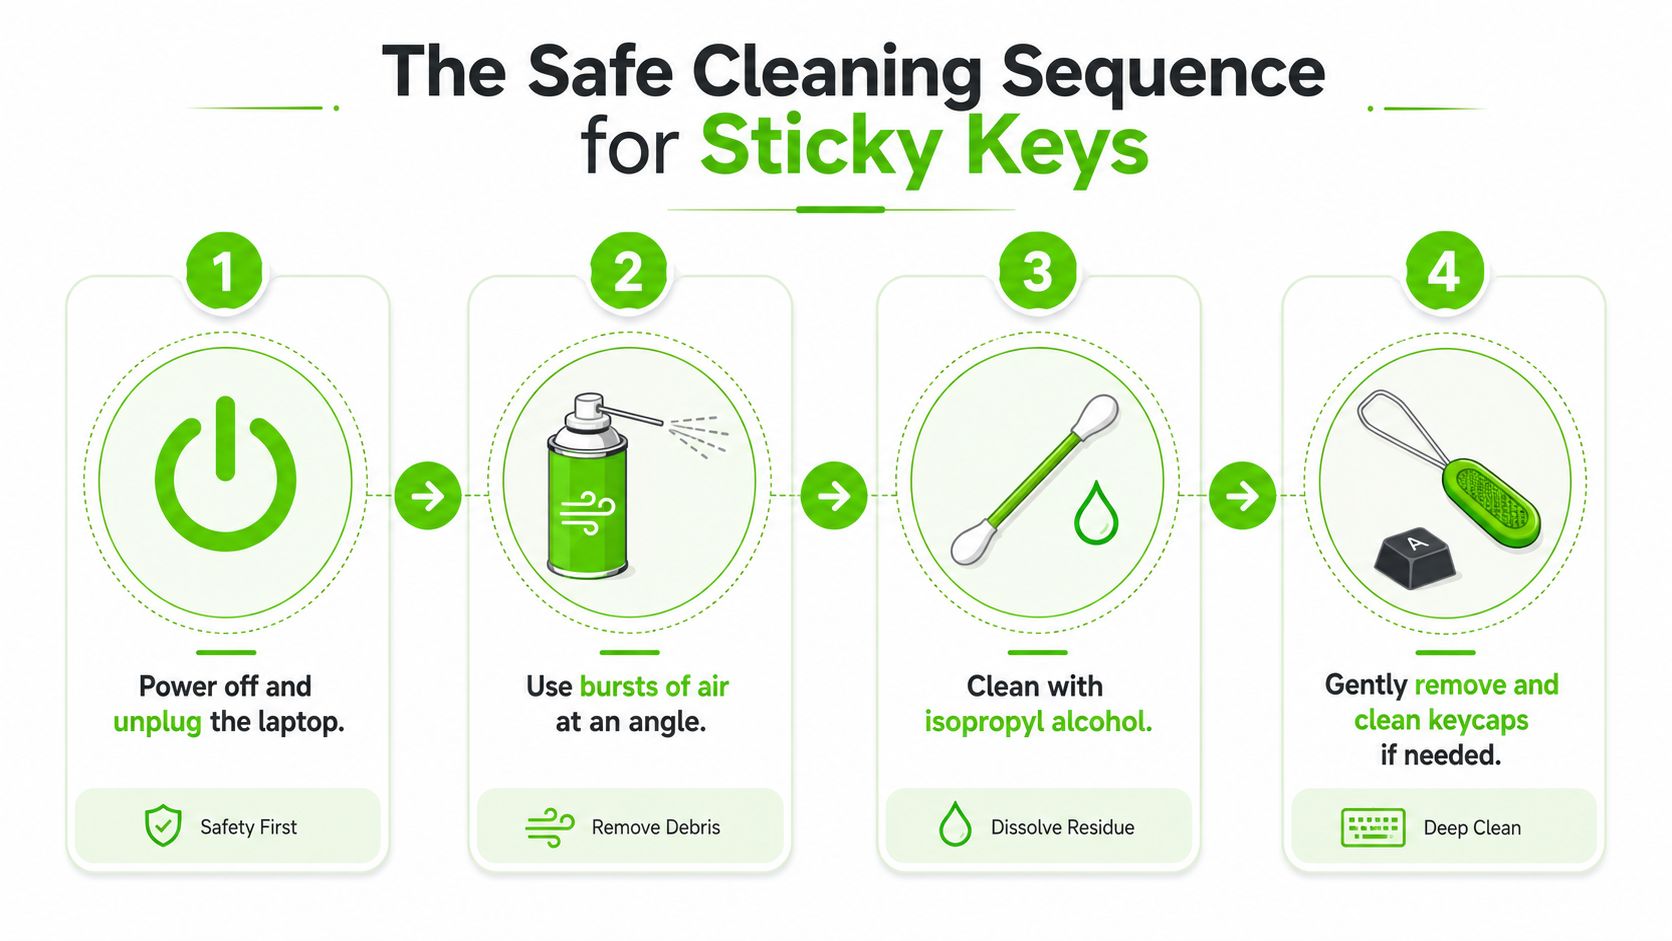
Prepare the laptop
Shut the laptop down completely. Disconnect the charger, remove peripherals, and, if the design allows it without opening the case, remove the battery. Work on a clean, well-lit surface so you can see the retainer and keep small parts from disappearing.
Use a can of compressed air designed for electronics and a cotton swab with isopropyl alcohol. A plastic keycap puller may be useful if your model supports removal, but metal screwdrivers, knives, and tweezers are poor choices around scissor mechanisms.
Remove loose debris first
Hold the laptop at a safe angle, or position it according to the air-can manufacturer's instructions. Apply short bursts around the affected key, directing particles outward rather than forcing them deeper into the keyboard. Keep the can upright and avoid spraying liquid propellant onto the keys.
Don't begin with alcohol if crumbs, dust, or grit are still present. Wet debris can become a paste and make the original problem harder to remove.
Clean residue with controlled moisture
Lightly dampen the cotton swab. It should feel moist, not wet enough to drip. Work around the edges of the sticky key and the visible switch area, changing to a clean section of the swab as residue transfers.
Never flood the keyboard, spray alcohol directly onto it, or press a soaked swab into the mechanism. Complete drying is essential because moisture trapped under a scissor switch or retainer can damage electronics or worsen the key's movement.
A useful repair demonstration can help you visualize the technique:
If the laptop has suffered a drink spill, especially one involving a sugary liquid, surface cleaning may not address residue beneath the keyboard or around contacts. In that situation, a specialist such as Repair My Crack's keyboard spill service can assess damage beyond what a cotton swab can reach. Test the key only after every cleaned area is fully dry.
Removing Keycaps Without Breaking the Mechanism
Keycap removal is not automatically safe on a laptop. Desktop key switches often tolerate more handling, while laptop keyboards use low-profile scissor assemblies with small retainers and limited clearance. Some caps are designed to come off, some are difficult to remove without damage, and some keyboard assemblies are better treated as non-user-serviceable.
Before touching the key, search for the exact laptop model and keyboard layout. Photograph the keyboard from directly above, including the position of stabilizer bars on wide keys such as Space, Shift, and Enter. Documenting the layout takes moments and prevents confusion when a retainer or stabilizer separates.
Decide whether removal is justified
Use compressed air and controlled surface cleaning first. Remove a cap only when the residue remains, the key's underside clearly needs attention, and the keyboard design supports safe access. A keycap that is physically cracked, loose, or already detached may need a replacement part rather than repeated cleaning.
Don't assume every key releases the same way. Smaller letter keys may differ from wide keys with stabilizers, and the mechanism can vary between laptop families.
Lift straight, not sideways
If removal is appropriate, use a plastic keycap puller or the method specified for the exact model. Apply gentle, even upward pressure. Lateral prying twists the retainer and can snap the scissor arms, creating a mechanical failure that cleaning can't solve.
Stop immediately if the cap resists unusually hard, if one side lifts while the other remains fixed, or if the scissor assembly begins to move with the cap. Never use a metal blade as a lever. A small scratch is the least serious outcome, since a misplaced tool can damage the retainer or the keyboard membrane below it.
Wash and dry the removed cap
Place removed keycaps in warm water with a small amount of dish soap. One repair recommendation calls for a 30-minute soak, followed by three to five rinses to remove soap and dissolved residue, as described in Wirecutter's keyboard and mouse cleaning guidance. Rinse until the water no longer feels soapy.
Set each cap on a clean towel and let it dry completely. The same guidance recommends allowing 2 to 3 hours of total drying time before reinstalling. Those timing details apply to the removed plastic cap, not to liquid poured over the laptop itself.
Inspect the retainer before reassembly. Align the cap directly above its original position and press gently until it seats. If it won't click into place with light pressure, don't force it. The retainer may be damaged or misaligned, and further pressure can make the repair worse. MacBook owners should also consult model-specific instructions, such as this guide to replacing a keyboard on a MacBook Pro, before attempting deeper work.
Understanding Delayed Failure Risks After Spills
A laptop may look dry while residue remains underneath. Water evaporates, but sugar, flavoring, milk solids, and other drink components can stay around the mechanism or electrical contacts. The key may feel normal at first, then become tacky as that residue shifts or hardens, a risk covered in this guide to sticking laptop keyboard keys.
The location of the liquid matters more than the surface appearance. A spill limited to the keycap may cause temporary friction, while liquid that passes below it can affect the scissor arms, stabilizer, membrane, or contact area. Corrosion and deformation can develop after the visible moisture has disappeared. Use this water-damaged laptop guidance if the spill may have reached the keyboard assembly or other internal parts.
Monitor the symptoms, not just the appearance
Test the affected key through ordinary typing after cleaning. Pressing it once is not enough. Check for these changes:
- Return problems: The key rises slowly, sits low on one side, or feels different after the laptop warms up.
- Input changes: Characters repeat, fail intermittently, or appear without a complete press.
- Spread to nearby keys: Other keys become gummy or respond inconsistently.
- Mechanical noise: New grinding, cracking, or uneven clicking points to a damaged retainer or stabilizer.
One sticky key may involve surface residue or a misaligned scissor mechanism. Several affected keys, especially in separate areas, suggest liquid travel, contamination beneath the keyboard, or a problem with the wider assembly.
Know the warning signs
A warped palm rest or keyboard deck is not ordinary dirt. Battery swelling can push against the chassis and alter key alignment. Stop using the laptop and seek professional assessment if the case lifts, separates, or looks distorted.
Sugary or corrosive spills deserve extra caution. If symptoms return after careful cleaning, or the laptop develops charging, trackpad, shutdown, or display problems, stop repeating surface treatment. Those signs suggest contamination or corrosion beyond the parts a basic cleanup can inspect. The key question is whether the laptop still works today, and whether liquid has reached components that require internal diagnosis.
When to Seek Professional Keyboard Replacement
Before replacing a keyboard, separate a sticky mechanism from software-caused “sticking” behavior. If keys repeat, fail intermittently, or register without a complete press, test with an external keyboard and check the operating system's keyboard settings. If the same behavior follows the software or disappears after restarting, disassembly is unlikely to help.
For physical residue, cautious cleaning is reasonable when one key is affected, the cap and scissor retainer are intact, and the key returns normally after the area dries. The uBreakiFix's laptop keyboard troubleshooting resource also identifies contamination, liquid residue, and misaligned mechanisms as common causes.
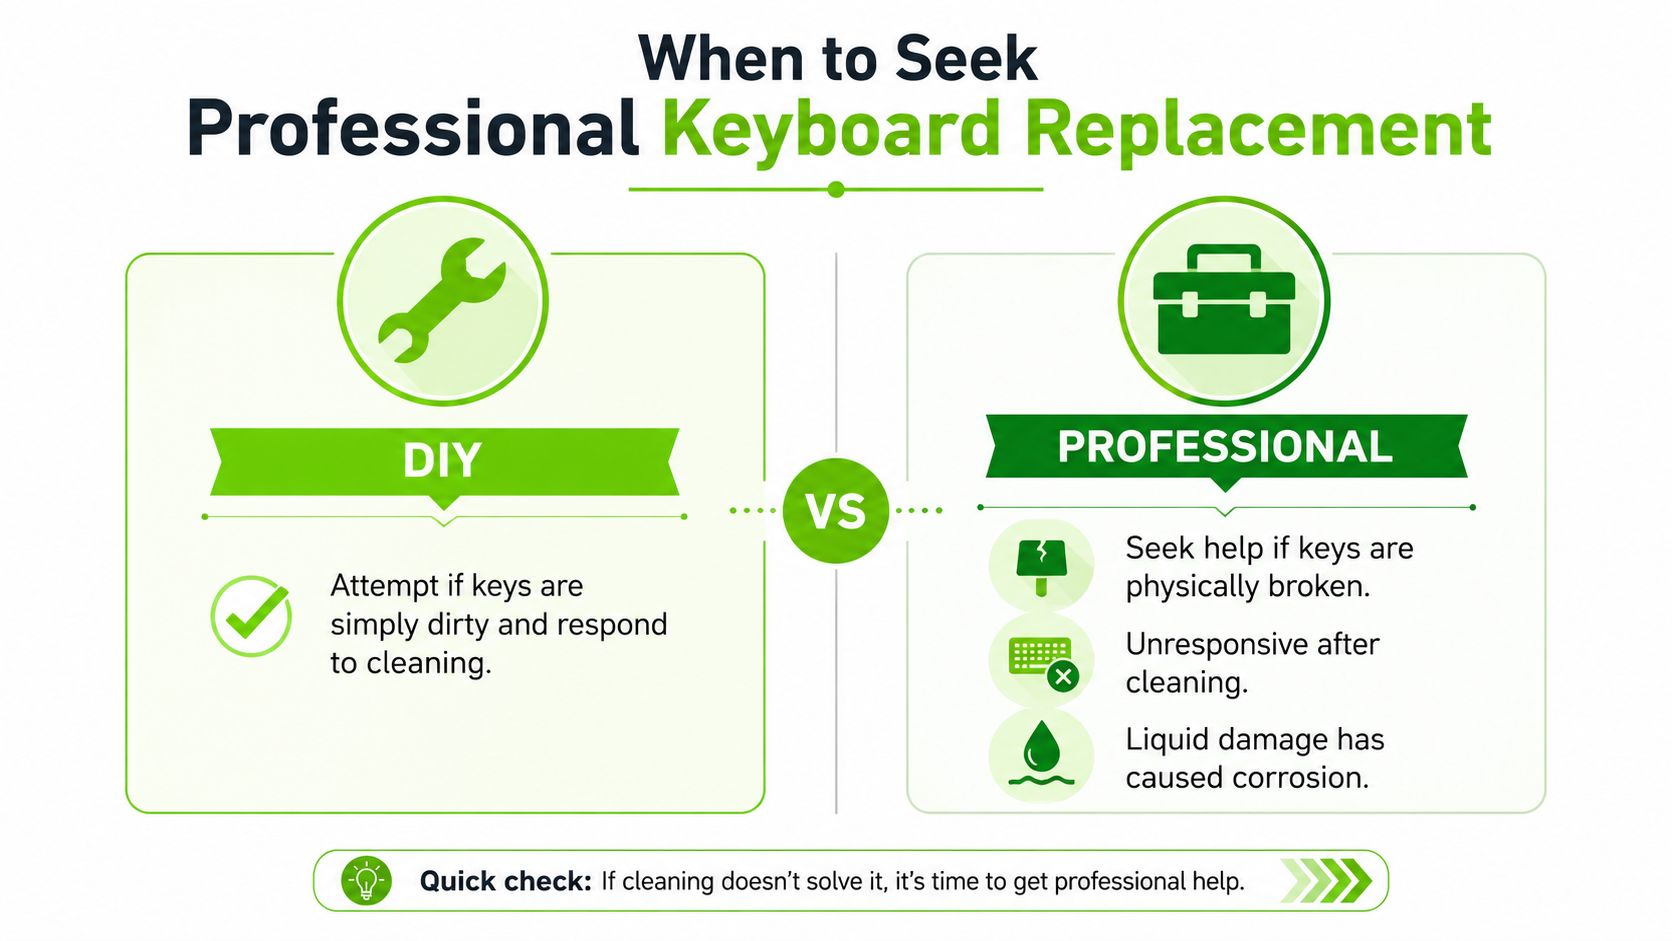
A practical decision guide
| Situation | Safer choice |
|---|---|
| One key feels slightly gummy and improves after dry debris removal | Continue cautious cleaning and testing |
| The cap or scissor retainer is visibly broken | Replace the affected part or seek repair |
| Several keys are affected after a spill | Arrange a professional inspection |
| Stickiness returns after careful cleaning and full drying | Stop repeating the same DIY process |
| The chassis is warped or the battery appears swollen | Stop using the laptop and seek urgent assessment |
| Keys remain unresponsive after software and hardware checks | Request component-level diagnosis |
A technician can inspect the keyboard from beneath, check the membrane and connectors, and identify damaged retainers. That inspection determines whether the laptop needs an individual key part, a keyboard assembly, or a larger top-case repair. Some models accept a compatible key or retainer. Others make full assembly replacement more practical.
Compare the repair options honestly
DIY cleaning saves money, but a fragile mechanism or hidden liquid can turn a small problem into a broken retainer, damaged connector, or missed corrosion. Professional service adds diagnostic and labor costs, while internal inspection can identify damage that surface cleaning cannot reach.
Ask whether diagnostics are performed in-house, whether the replacement part matches the exact model, and whether testing follows the repair. Request an upfront estimate and ask what happens if inspection finds liquid damage beyond the keyboard. We Fix PC Laptop provides in-house diagnostics and component-level repair for laptops and Mac systems, with same-day turnaround available for many repairs when parts are in stock.
Prevention Habits That Keep Keys Responsive
Sticky keys are easier to prevent than to repair. Keep food, drinks, oil, and loose debris away from the mechanism, then clean lightly before particles are pressed beneath the keycaps.
Food and drinks create obvious risks, but dusty workspaces and unwashed hands also transfer residue. Frequently used keys such as Space, Enter, and Shift receive repeated pressure, so contamination and wear often appear there first. See this overview of sticky laptop keyboard causes for related causes.
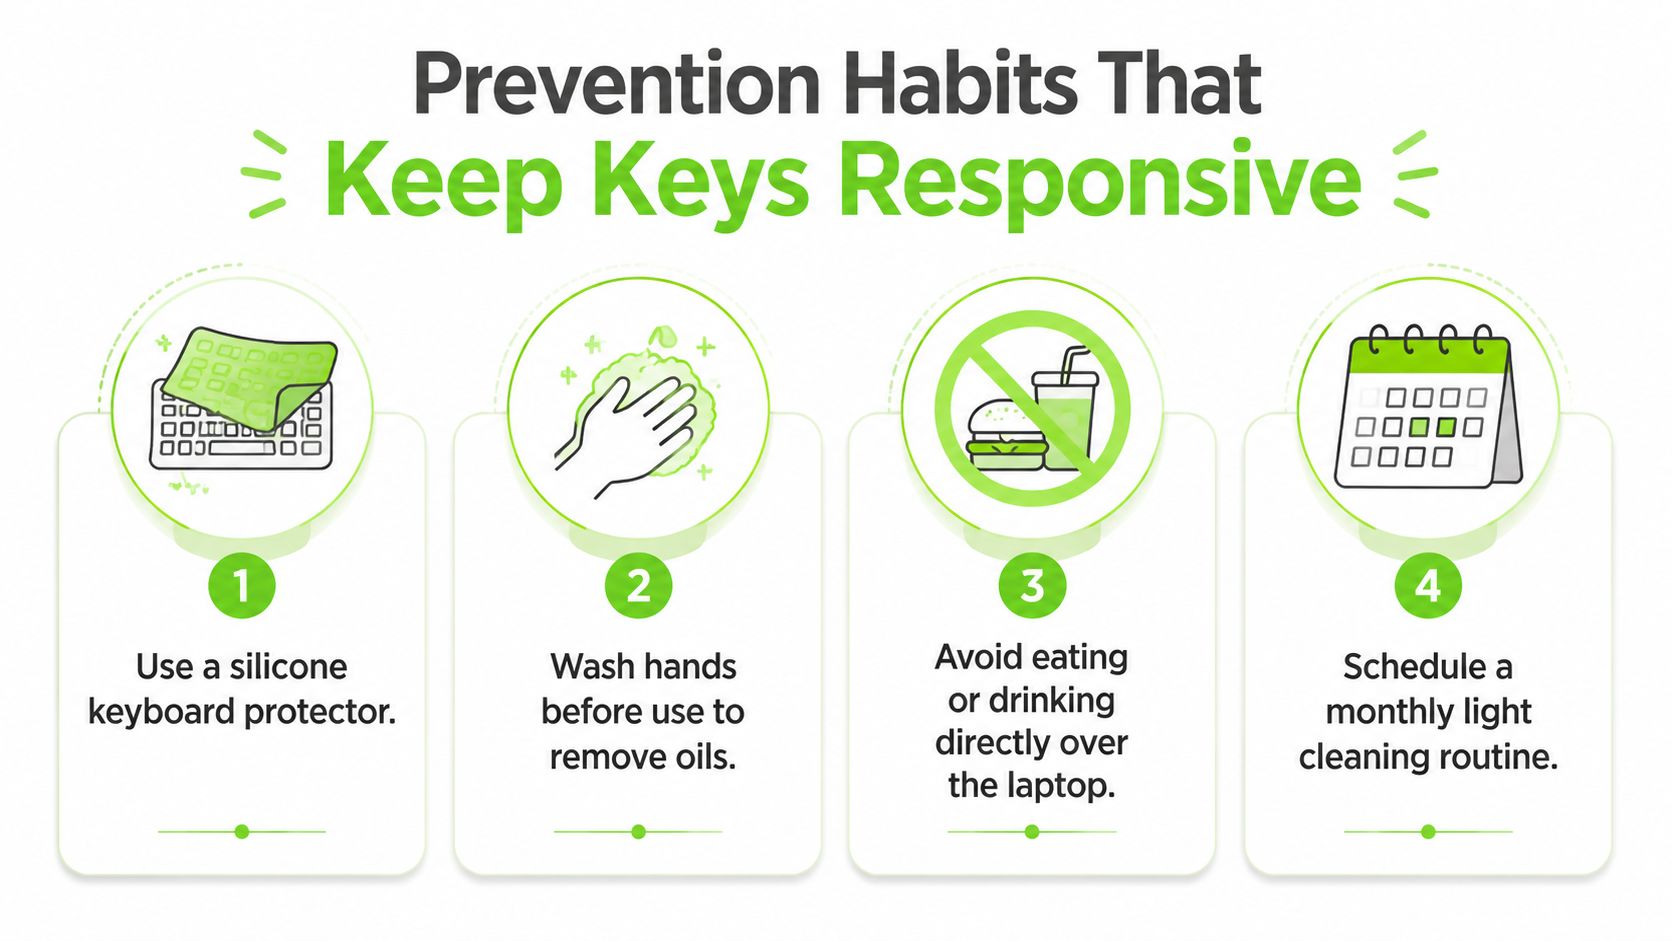
Build a routine you'll actually follow
- Wipe the surface regularly: Use a dry microfiber cloth for dust and oil. If dampness is needed, apply it to the cloth, never into the keyboard gaps.
- Use compressed air periodically: Apply short, controlled bursts to clear loose particles before they pack under key edges. Follow the can's handling instructions.
- Keep liquids elsewhere: A drink beside the laptop can become a repair after a minor spill. Use a separate surface for beverages.
- Wash and dry your hands: Clean, dry hands reduce oil and food residue transferred during long typing sessions.
- Protect high-risk setups: A compatible silicone keyboard protector can help in dusty or shared environments. Remove it periodically so debris does not stay trapped underneath.
- Transport the laptop carefully: Close the lid, use a clean sleeve, and keep loose papers, food packaging, and gritty objects away from the keyboard.
For a frequently used laptop, monthly light cleaning is reasonable. Dusty or high-traffic environments may need more frequent surface attention. Avoid aggressive scrubbing. Gentle, mostly dry maintenance reduces the chance that routine cleaning becomes keyboard damage.
If sticky keys remain unresponsive, repeat characters after software checks, or return after careful cleaning, We Fix PC Laptop can diagnose the keyboard and inspect for spill or chassis damage on Windows laptops and Mac systems. Visit We Fix PC Laptop for repair support and an assessment before forcing another keycap.